Part 1: Introduction
Lava cake, also known as molten chocolate cake, is one of the most indulgent desserts ever created. With its soft outer shell and irresistibly gooey center, it’s a favorite at fine dining restaurants and home kitchens alike. But what exactly is the filling made of in a lava cake? Surprisingly, the answer lies in its simple yet magical combination of ingredients and a precise baking technique. In this blog, we’ll explore the secrets behind the molten center, what makes it flow, and even how you can create your own lava cake at home.
Part 2: The Magic Behind the Filling
The filling in a lava cake is nothing short of culinary magic. When you cut into the cake, the molten center oozes out like liquid gold, leaving most of us wondering: How is this even possible? The secret lies in the preparation and baking process, where science meets art.
What Makes the Filling Molten?
The molten filling isn’t an additional layer added after baking. Instead, it’s a clever result of partially baking a rich batter. The outer layer cooks fully, forming a soft cake structure, while the center remains underbaked and fluid, creating the signature flowing core.
The key to achieving this texture is timing. Most lava cakes are baked at high temperatures for a short period—usually 10-12 minutes. This ensures the edges and top set, while the inside stays gooey and warm. The precise temperature control and short baking time make or break the dish.
The Role of Ingredients in the Filling
Each ingredient in the batter plays a unique role in creating the molten texture:
- Chocolate: The star of the show, chocolate melts and combines with the other ingredients to stay smooth and fluid.
- Butter: Adds richness and contributes to the velvety texture of the filling.
- Eggs: Bind the ingredients together and provide a custard-like consistency to the center.
- Sugar: Sweetens the mix and slightly caramelizes for extra depth of flavor.
- Flour: Used sparingly, it provides just enough structure without over-drying the batter.
This precise balance of ingredients ensures that the outer cake bakes to perfection while the center remains molten.
Why the Center Doesn’t Cook Through
The center remains liquid due to two factors:
- Short Baking Time: The short duration doesn’t allow the heat to penetrate fully, leaving the middle undercooked.
- High Moisture Content: Ingredients like chocolate, butter, and eggs have a high liquid content, ensuring the center stays soft and gooey.
Part 3: Key Ingredients of Lava Cake Filling
The molten center of a lava cake owes its irresistible texture and flavor to a carefully balanced combination of simple yet powerful ingredients. Each component contributes to the final masterpiece, making it a sensory delight. Let’s dive deeper into these key ingredients and how they work together to create the magic.
1. Chocolate: The Star Ingredient
At the heart of every lava cake is chocolate—dark, semi-sweet, or bittersweet varieties are most commonly used. High-quality chocolate is crucial because it forms the foundation of both the batter and the gooey center. Its rich cocoa butter content ensures the filling melts smoothly and oozes beautifully when the cake is sliced.
Why it matters:
Chocolate is packed with fat and solid particles that melt during baking, staying fluid even as the edges of the cake firm up. The cocoa’s natural bitterness balances the dessert’s sweetness for a sophisticated taste.
2. Butter: Adding Smoothness
Butter is melted alongside the chocolate to create a silky, luscious mixture that defines the texture of the molten center. It also helps retain the filling’s creamy consistency.
Why it matters:
Butter’s high-fat content not only enhances flavor but also prevents the filling from solidifying completely during the short baking time. This creates the signature “lava” flow.
3. Eggs: Creating the Texture
A combination of whole eggs and egg yolks is critical to the molten center. The eggs provide structure and richness to the batter, binding the ingredients while keeping the center custard-like and liquid.
Why it matters:
Eggs thicken as they cook, giving the edges their cakey texture while leaving the inner batter gooey and almost pudding-like due to the controlled baking.
4. Sugar: Sweetness and Caramelization
Sugar balances the chocolate’s bitterness and contributes to the filling’s glossy texture. It also caramelizes slightly during baking, adding complexity to the flavor profile.
Why it matters:
Sugar doesn’t just sweeten—it helps create the golden-brown surface of the cake while keeping the center soft and shiny.
5. Flour: Minimal for Structure
Unlike other cakes, lava cakes use very little flour—sometimes as little as a tablespoon. The purpose of the flour is solely to provide enough structure to hold the cake together without over-drying the batter.
Why it matters:
The minimal flour content allows the cake to set around the edges while leaving the center undercooked and molten.
How These Ingredients Interact
The ingredients in lava cake filling work together like a symphony. The butter and chocolate form the base, the eggs provide structure, sugar adds sweetness and texture, and flour binds everything lightly. When baked for just the right amount of time, these elements create a perfectly balanced dessert with a molten, flowing center.
Part 4: How the Molten Center Forms
The molten center of a lava cake isn’t an accident—it’s the result of precise baking techniques that balance science and art. Achieving that gooey, flowing core while maintaining a firm and tender outer shell requires an understanding of time, temperature, and the unique behavior of the ingredients.
1. The Role of Baking Temperature
Lava cakes are baked at a relatively high temperature, typically around 375°F to 425°F (190°C to 220°C). The high heat quickly cooks the outer layer, giving it structure, while the center remains insulated and undercooked.
Why temperature matters:
The high temperature is key to this dessert’s success. If the oven is too cool, the entire batter will cook through, eliminating the molten core. If it’s too hot, the outside may burn before the interior sets properly.
2. Timing is Everything
Most lava cakes are baked for only 10 to 12 minutes, depending on the size of the ramekin or mold. This short duration is deliberate—enough to set the edges but not long enough for the heat to reach the center.
Baking tip:
- Check the cake’s edges—they should look firm but still slightly soft to the touch.
- The top may appear slightly sunken or cracked, a sign that the inside remains molten.
3. The Science of Partial Cooking
When the batter is placed in the oven, heat transfers from the outer layer inward. The outer edges and top cook faster, creating a structured cake layer. Meanwhile, the center remains mostly liquid due to two factors: the short baking time and the high moisture content of the ingredients.
- Chocolate and butter: These melt at low temperatures and help keep the center fluid.
- Eggs and sugar: These thicken slightly as they cook, but only the edges receive enough heat to set fully.
4. Why the Center Doesn’t Cook Through
The molten center stays uncooked because the batter’s moisture and fat content create a barrier against heat penetration. Additionally, the air trapped in the batter helps insulate the inner core, preventing it from setting.
Pro tip:
- To ensure the molten center is perfect, let the cakes cool for 1-2 minutes after baking. This stabilizes the outer shell before you cut into it.
5. Common Baking Challenges
Creating the perfect lava cake can be tricky. Here are some common issues and how to avoid them:
- Overcooking: Results in a fully set center and no molten core.
Fix: Reduce baking time by 1-2 minutes. - Undercooking: The cake collapses when removed from the mold.
Fix: Ensure the edges are firm and check the top for slight cracking. - Sticking to the Mold: Improper greasing can ruin the presentation.
Fix: Generously butter the ramekin and dust with cocoa powder for easy release.
6. Testing the Perfect Bake
One trick to test the cake is to lightly press the top with your finger. It should feel springy but not overly firm. Additionally, a toothpick inserted into the edge (not the center) should come out clean.
Why It’s Worth the Effort
Achieving the perfect molten center might take a few tries, but the results are worth it. The contrast between the structured outer shell and the gooey chocolate center creates a multi-textured dessert that’s both indulgent and sophisticated.
Part 5: Variations of Lava Cake Fillings
While the classic chocolate lava cake is a dessert lover’s dream, chefs and home bakers have taken the concept further by experimenting with different flavors and fillings. These creative variations offer unique twists on the traditional recipe, ensuring there’s a molten cake for every palate.
1. White Chocolate Lava Cake
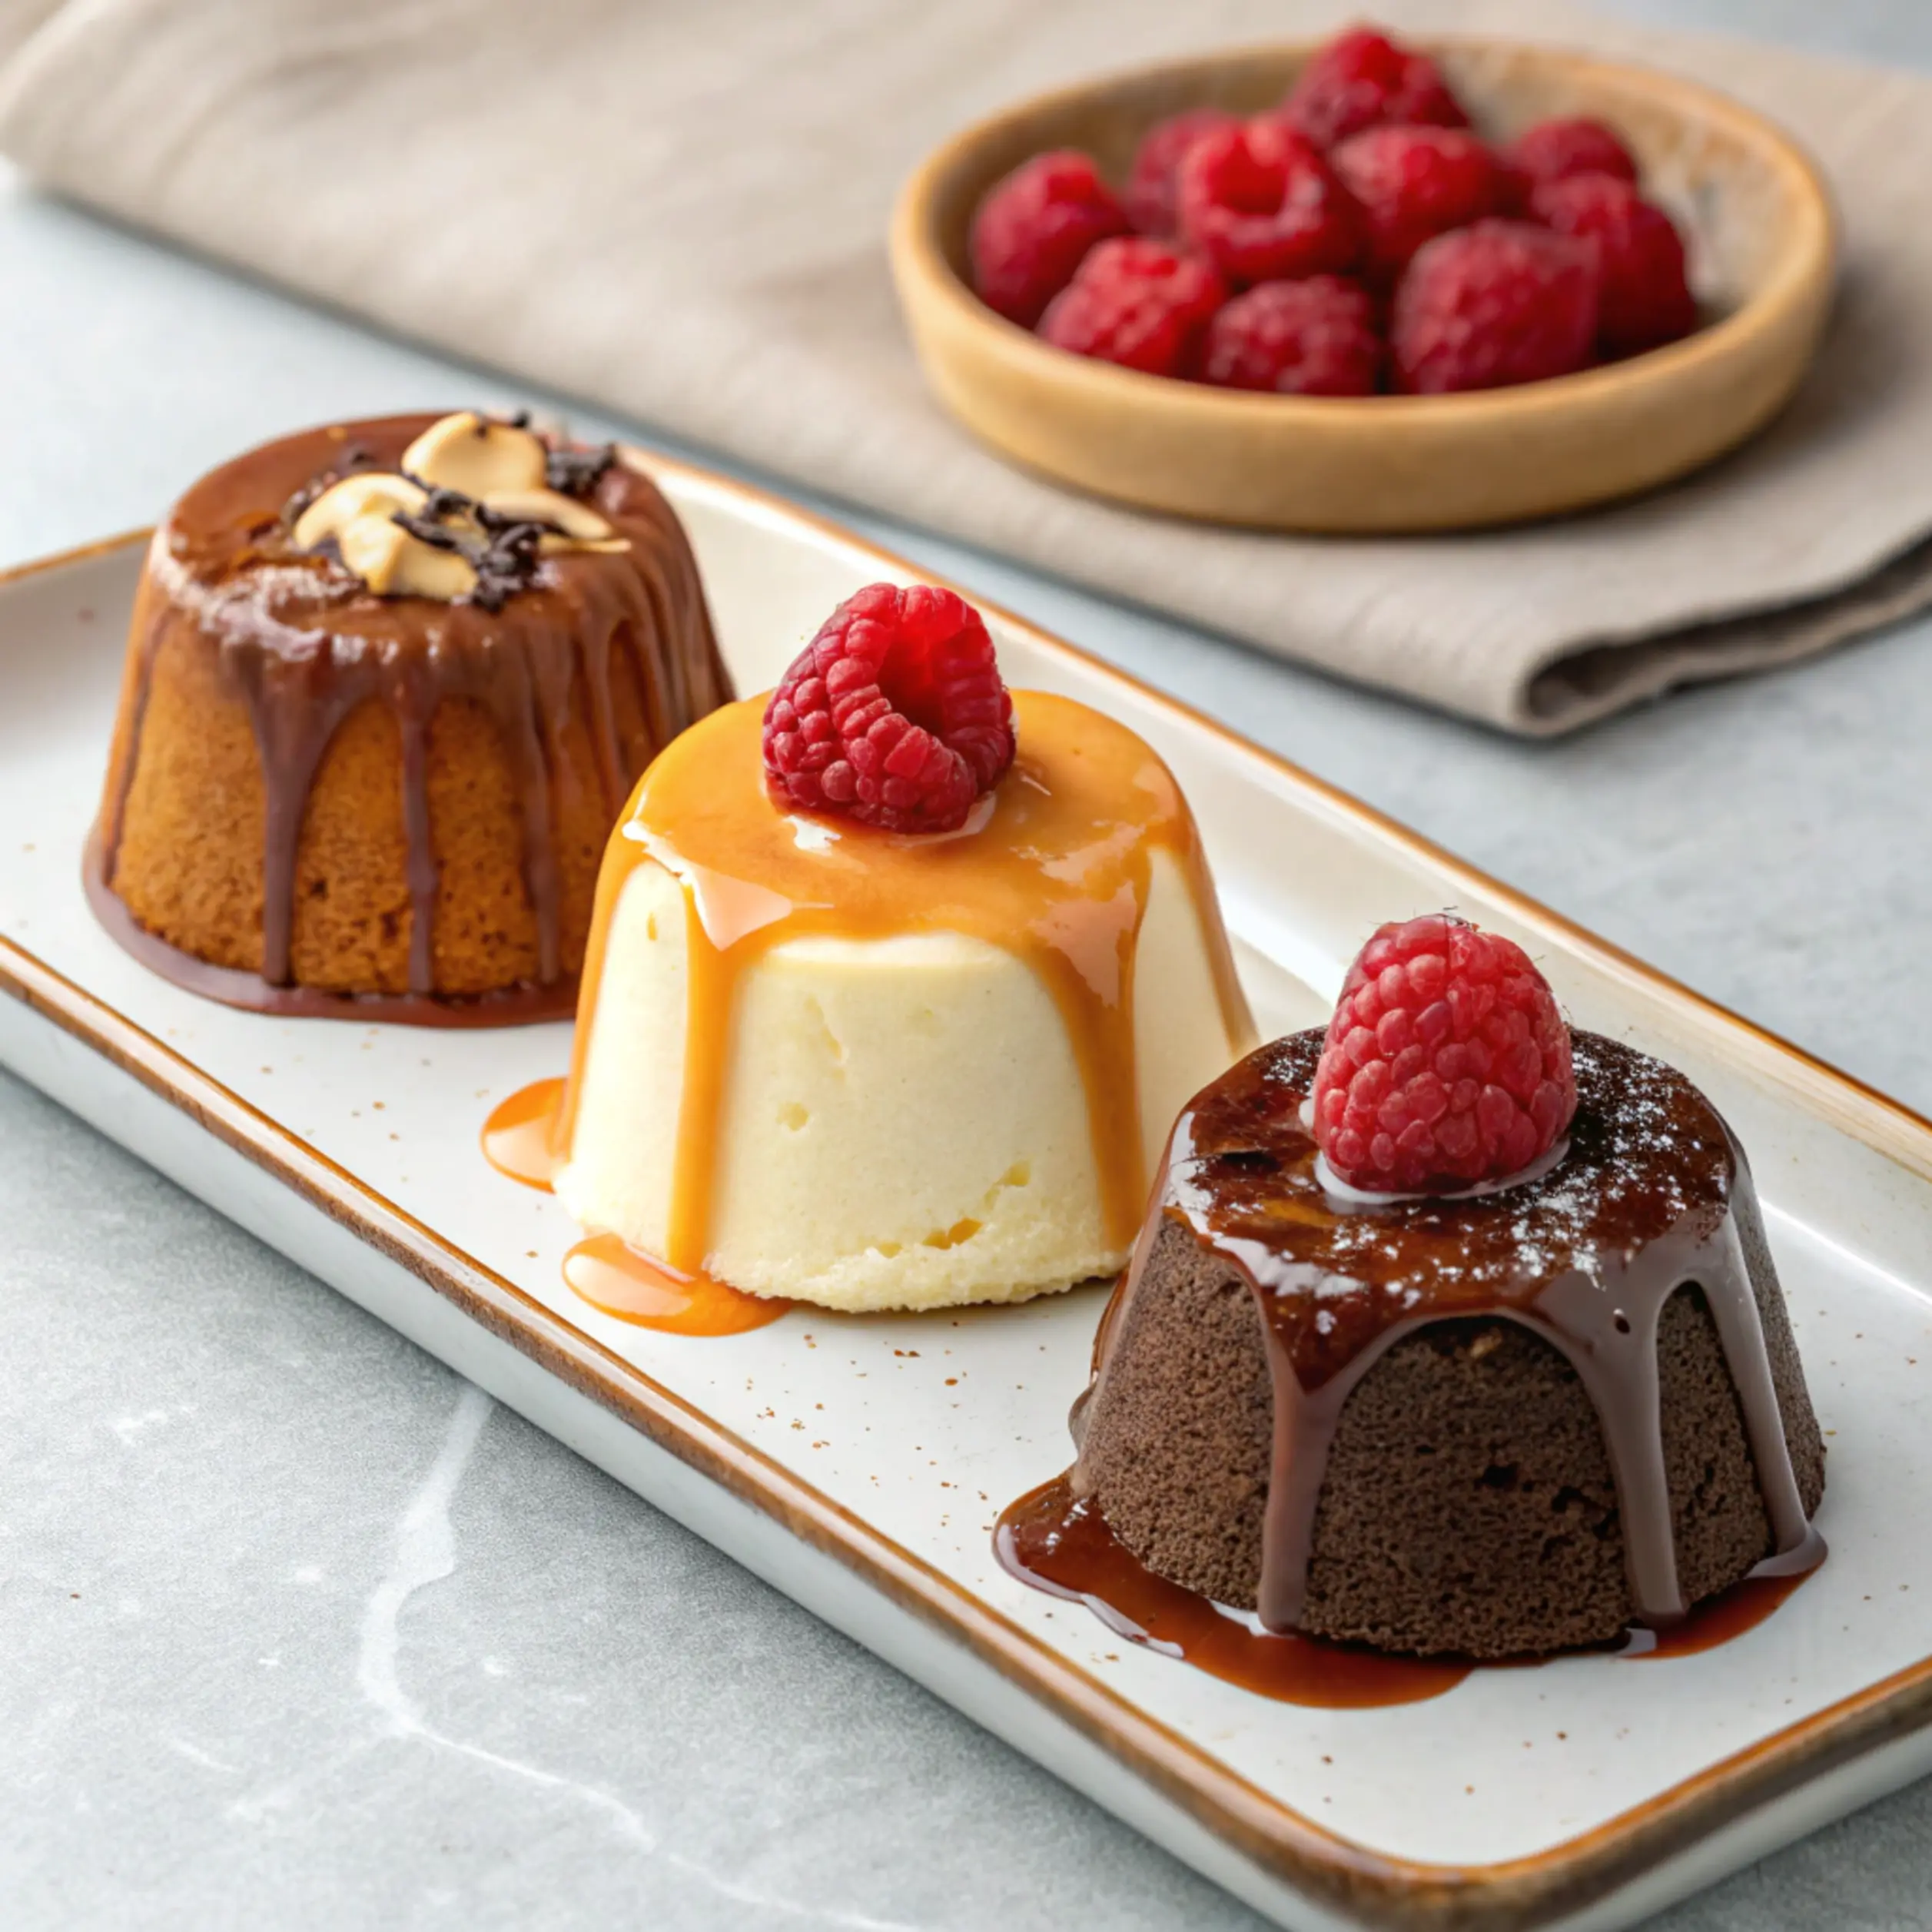
A luxurious alternative to the classic, white chocolate lava cake is a creamy and indulgent treat. The molten center is made using melted white chocolate, which creates a smooth, buttery filling that contrasts beautifully with the delicate outer layer.
Flavor Profile:
White chocolate adds a milky sweetness that pairs wonderfully with berries or a drizzle of raspberry coulis.
Pro tip:
Use high-quality white chocolate with a high cocoa butter content to ensure the filling remains fluid.
2. Salted Caramel Lava Cake
For those who love the balance of sweet and salty, salted caramel lava cake is a perfect choice. The filling is made with a rich caramel sauce that melts in the center as the cake bakes. A touch of sea salt enhances the sweetness and adds complexity.
Flavor Profile:
The interplay of sweet caramel and salty notes creates a sophisticated dessert that pairs well with vanilla ice cream.
Pro tip:
Freeze small dollops of caramel before placing them in the batter. This helps maintain the molten texture during baking.
3. Peanut Butter Lava Cake
Peanut butter fans will adore this decadent variation. A creamy peanut butter center melts into the cake, creating a rich and nutty flavor that’s both indulgent and nostalgic.
Flavor Profile:
The earthy taste of peanut butter complements the chocolate exterior, making it a match made in dessert heaven.
Pro tip:
Add a swirl of chocolate ganache to the batter for a layered flavor experience.
4. Matcha Lava Cake
For a more unconventional twist, matcha lava cake delivers a vibrant green center with earthy and slightly bitter undertones. Made with matcha powder and white chocolate, this version is as visually stunning as it is delicious.
Flavor Profile:
The herbal notes of matcha contrast with the sweetness of the cake, creating a balanced and refreshing dessert.
Pro tip:
Dust the cake with powdered sugar or extra matcha for an elegant presentation.
5. Fruit-Infused Lava Cake
Fruit lovers can enjoy variations like raspberry or mango lava cakes. These fillings use fruit purées or jams, creating a tangy and colorful molten center.
Flavor Profile:
The natural tartness of fruit fillings cuts through the richness of the cake, offering a lighter option.
Pro tip:
Combine fruit purée with white chocolate or butter to achieve the perfect consistency.
6. Spiced Chocolate Lava Cake
For those who crave a bit of heat, spiced chocolate lava cake incorporates chili, cinnamon, or nutmeg into the batter. The warm spices elevate the classic chocolate filling, adding depth and a subtle kick.
Flavor Profile:
The spices amplify the chocolate’s intensity, creating a warm, comforting dessert.
Pro tip:
Use cayenne or chili powder sparingly for just a hint of heat without overpowering the chocolate.
Why Explore Variations?
Experimenting with different lava cake fillings allows you to cater to diverse tastes and occasions. From holiday-themed versions with spiced fillings to summery fruit-infused centers, there’s no limit to the possibilities.
Part 6: Tips to Perfect the Lava Cake Filling
Creating the perfect lava cake filling can feel like a challenge, but with the right techniques and a bit of practice, anyone can master this dessert. From ingredient preparation to baking finesse, here are essential tips to ensure a flawless molten center every time.
1. Choose Quality Ingredients
The quality of your ingredients directly impacts the flavor and texture of the molten filling. Here’s what to focus on:
- Chocolate: Use high-quality chocolate with a cocoa content of at least 60-70% for rich flavor and a smooth, creamy texture.
- Butter: Opt for unsalted, high-fat butter to avoid overly salty results.
- Eggs: Use fresh eggs at room temperature for better emulsification.
Pro tip:
Avoid using low-quality chocolate or margarine substitutes, as they can result in a grainy filling.
2. Achieve the Perfect Batter Consistency
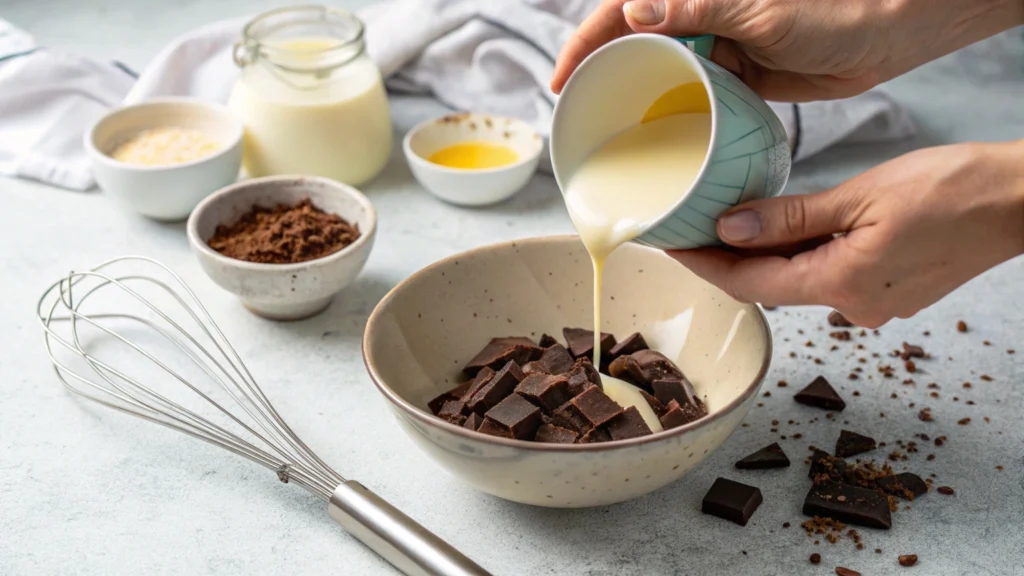
The batter should be smooth and well-combined, with no lumps. Melt the chocolate and butter together gently—using a double boiler or microwave in short intervals—to prevent burning or separation.
Steps to follow:
- Let the melted chocolate cool slightly before adding it to the eggs and sugar to prevent curdling.
- Sift the flour to avoid lumps in the batter.
3. Master the Baking Technique
The baking process is where most lava cake failures happen. Timing is crucial to achieve a molten center while ensuring the outer shell sets properly.
- Preheat the Oven: Always preheat your oven to the correct temperature before placing the batter inside. This ensures even cooking.
- Monitor Time Closely: Bake for 10-12 minutes, but keep an eye on the cakes. The tops should be firm, with slight cracks, while the centers will still jiggle slightly.
Pro tip:
If you’re baking multiple cakes, remember that the size of the ramekins or molds will affect the baking time. Adjust accordingly.
4. Properly Prepare the Molds
Preventing the lava cake from sticking to its mold is essential for presentation. Here’s how:
- Generously grease the molds with butter.
- Dust with cocoa powder instead of flour for a smooth finish and extra flavor.
Pro tip:
For an easy release, line the bottom of the ramekin with a small round of parchment paper.
5. Experiment with Fillings
If you’re venturing beyond classic chocolate, try freezing alternative fillings like caramel, peanut butter, or fruit purée into small dollops. Insert them into the batter before baking to keep them molten.
6. Cool Before Unmolding
Let the cakes rest for 1-2 minutes after baking to stabilize the outer shell. This reduces the risk of them collapsing when you unmold them.
Steps to unmold:
- Run a knife gently around the edge of the mold.
- Invert the ramekin onto a plate and tap lightly to release.
FAQs About Lava Cake Filling
Q1: Can I make the batter in advance?
Yes, you can prepare the batter and refrigerate it for up to 24 hours. Allow it to come to room temperature before baking.
Q2: Why is my lava cake fully cooked with no molten center?
Overbaking is the primary reason. Reduce the baking time by 1-2 minutes, or check your oven temperature for accuracy.
Q3: Can I reheat lava cakes?
Reheating may set the molten center, but you can microwave for 10-15 seconds to revive some gooeyness.
Q4: What’s the best mold for lava cakes?
Ramekins or silicone molds work best. Avoid large molds, as they can result in uneven baking.
Q5: Can I use milk chocolate instead of dark chocolate?
Yes, but milk chocolate will create a sweeter, less intense flavor. Adjust the sugar in the recipe to balance the sweetness.
Q6: Can lava cakes be made gluten-free?
Absolutely! Use gluten-free flour or almond flour as a substitute. The results will still be deliciously gooey.
Conclusion: The Art of the Perfect Lava Cake
Mastering lava cake filling is as much about understanding the science behind the molten center as it is about practicing technique. With high-quality ingredients, careful preparation, and precise baking, you can create a dessert that’s as visually stunning as it is delicious. Whether you stick with the classic chocolate version or experiment with creative variations, the joy of slicing into that flowing core is a reward in itself.
Lava cake is a harmonious blend of art and science, where simple ingredients transform into a multi-textured indulgence. Whether you stick to the classic chocolate version or experiment with innovative variations, mastering this dessert is immensely rewarding.
For more insights and tips, explore related articles like Where Did Molten Chocolate Come From? to discover the origins of this iconic treat.